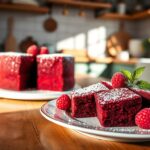
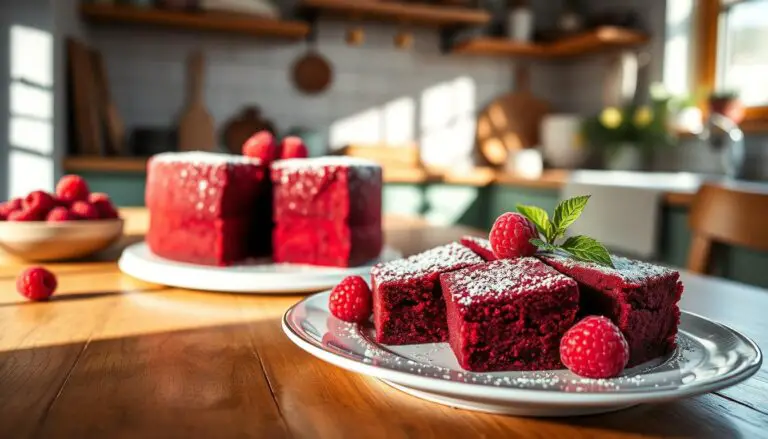
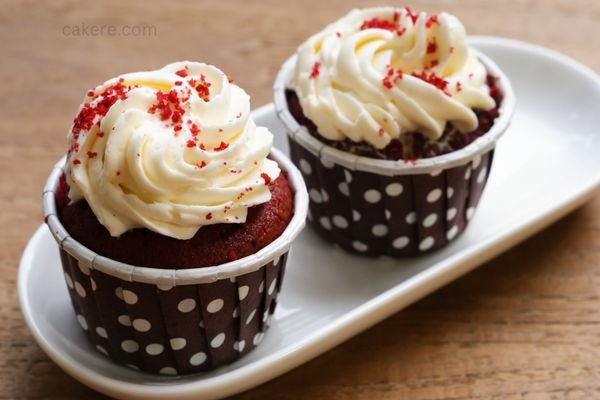
we believe that a perfect red velvet cupcake should be moist, fluffy, and bursting with flavor. That’s why we’re excited to share our ultimate recipe for moist red velvet cupcakes that is sure to impress anyone who tries them.
What You Need To Make Red Velvet Cupcakes Recipe
- butter
- sugar
- egg
- buttermilk
- red food coloring
- vanilla extract
- baking soda
- white vinegar
- flour
- cocoa powder
- salt
How To Make Moist Red Velvet Cup
Ingredients
- 1 fluid ounce red food coloring
- 1 cup buttermilk
- 2 egg
- 1 ½ cups white sugar
- ½ cup butter
- 1 teaspoon vanilla extract
- 1 ½ teaspoons baking soda
- 1 tablespoon distilled white vinegar
- 2 cups all-purpose flour
- ⅓ cup unsweetened cocoa powder
- 1 teaspoon salt
Instructions
- To start, preheat the oven to a temperature of 350 degrees Fahrenheit, equivalent to 175 degrees Celsius. Afterward, prepare two muffin pans by either greasing them or lining them with 20 paper baking cups.
- Take a large bowl and beat the sugar and butter together using an electric mixer until the mixture is fluffy and light. Proceed by adding buttermilk, eggs, vanilla, and red food coloring to the mixture. Then, add baking soda and vinegar, stirring well. In a separate bowl, mix the flour, salt, and cocoa powder before adding it to the batter, stirring it in just enough to blend it.
- After the batter is ready, spoon it evenly into the cups prepared earlier. Then, bake in the oven that has been preheated until the tops of the cupcakes spring back when pressed lightly. This should take around 20 to 25 minutes. Once the cupcakes are done, cool them in the pan over a wire rack.Once the cupcakes have cooled down, arrange them on a serving platter and proceed to frost them with the frosting of your choice.
Pro Tips for Making Red Velvet Cupcakes
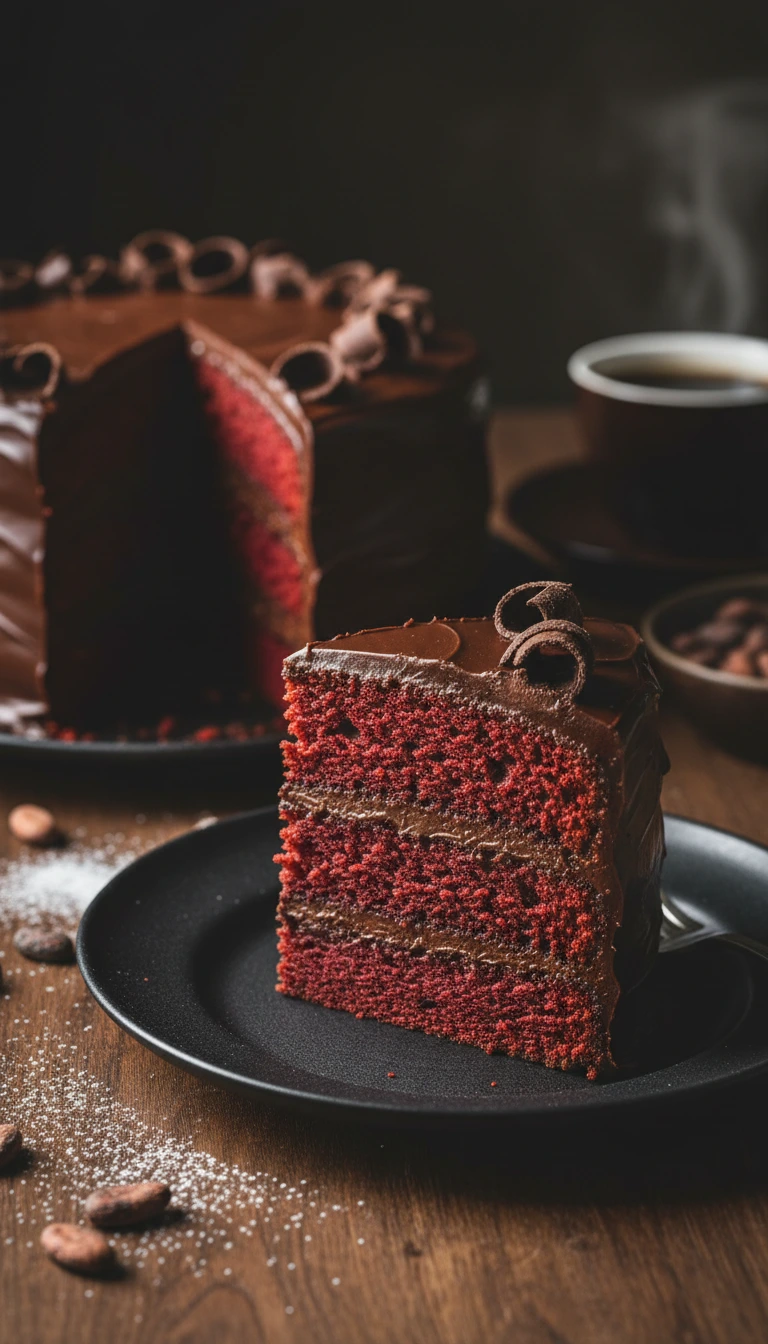
If you’re a fan of sweet treats, there’s a good chance you’ve tried a red velvet cupcake or two in your time. Red velvet cupcakes are a classic dessert, with a moist, velvety texture and a rich, chocolatey flavor. But making the perfect red velvet cupcake isn’t as easy as it seems. In this article, we’ll be sharing some pro tips for making red velvet cupcakes that are sure to impress.
The History of Red Velvet Cupcakes
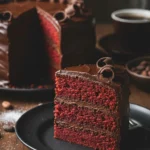
Red velvet cupcakes are a relatively modern dessert, with their origins traced back to the 1800s. In the past, the red color of the cake was achieved using natural ingredients such as beetroot or cocoa powder, but in modern times, red food coloring is used instead. The rich, chocolatey flavor of red velvet cupcakes has made them a popular dessert for special occasions such as weddings and birthdays.
The Key Ingredients
The key ingredients in red velvet cupcakes are flour, cocoa powder, sugar, eggs, butter, buttermilk, vinegar, vanilla extract, and red food coloring. When making the batter, it’s important to cream the butter and sugar together until they’re light and fluffy. This helps to create a tender, moist crumb. The buttermilk and vinegar work together to create a tangy flavor that balances out the sweetness of the cake.
The Importance of Red Food Coloring
Red food coloring is a crucial ingredient in red velvet cupcakes, as it gives the cake its distinctive red hue. When adding food coloring to the batter, it’s important to use a high-quality brand that won’t affect the taste or texture of the cake. Start with a small amount of food coloring and gradually add more until you achieve the desired shade of red.
Conclusion
With this ultimate recipe for moist red velvet cupcakes, you’re sure to impress your friends and family with a perfectly fluffy and flavorful treat. Whether you’re a baking pro or a beginner, this recipe is sure to please. Try it out today and taste the difference for yourself.
You May Also Like