Costco’s cranberry walnut bread has gained a cult following for good reason. With its perfectly crusty exterior, soft chewy interior, and the delightful combination of tart cranberries and crunchy walnuts, it’s a bakery favorite that disappears quickly from shelves. But what if you could recreate this beloved bread in your own kitchen?
This Costco cranberry walnut bread recipe will guide you through making your own version that rivals the original—without the trip to the store or the price tag.
Ingredients You’ll Need for Costco Cranberry Walnut Bread
This recipe uses simple pantry staples to create that signature Costco-style bread. The long fermentation time is what gives this bread its amazing flavor and texture, not a long list of ingredients!
| Ingredient | US Measurement | Metric Measurement |
| All-purpose flour | 3 cups + 2 tablespoons | 390g |
| Instant yeast | ½ teaspoon | 2g |
| Coarse sea salt | 2 teaspoons | 10g |
| Dried cranberries | ¾ cup | 105g |
| Chopped walnuts | ¾ cup | 95g |
| Warm water (95°F/35°C) | 1½ cups | 360ml |
| Honey | 1 tablespoon | 21g |
Equipment You’ll Need
- Large mixing bowl
- Wooden spoon or spatula
- Measuring cups and spoons
- Parchment paper
- Dutch oven (5-6 quart size)
- Kitchen thermometer (optional but helpful)
- Bread lame or sharp knife (for scoring)
- Cooling rack
Step-by-Step Instructions for Costco Cranberry Walnut Bread Recipe
This no-knead method creates a bread with an amazing texture that’s surprisingly easy to make. The long rise time does most of the work for you!
Step 1: Mix the Dough (Evening Before Baking)
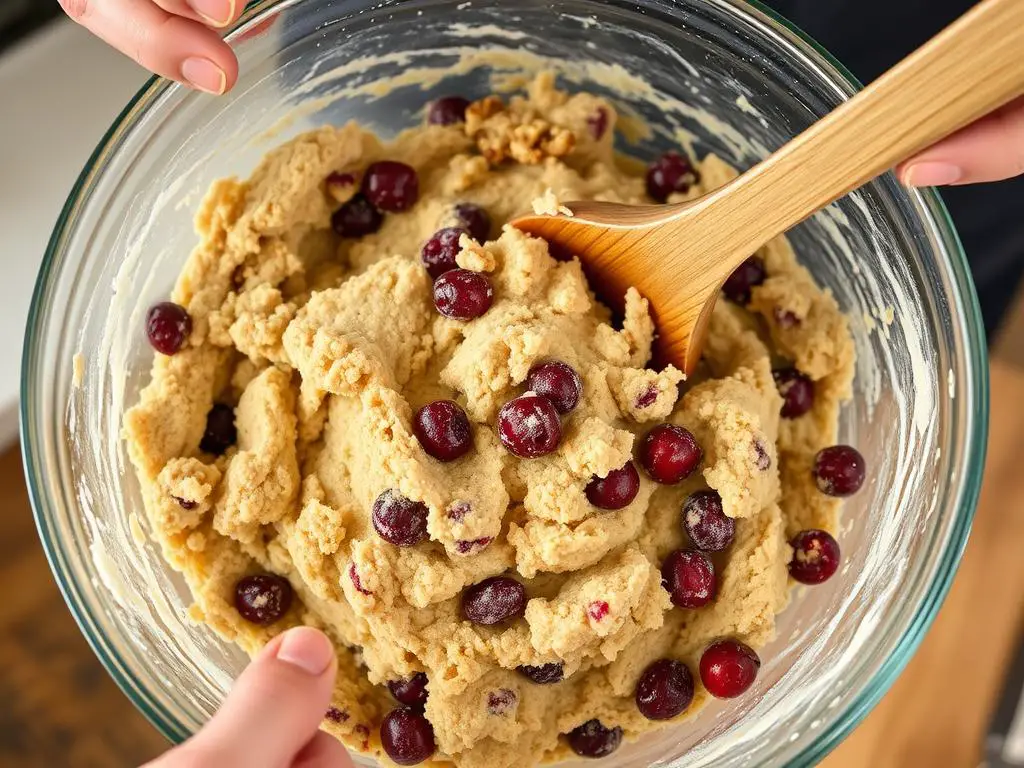
- In a large bowl, stir together the flour, salt, and yeast. Keep the salt and yeast on opposite sides of the bowl initially, then stir to combine.
- Add the dried cranberries and chopped walnuts, stirring to coat them in the flour mixture.
- Mix the honey with the warm water until dissolved.
- Pour the honey-water mixture into the dry ingredients and stir until fully combined. The dough will be very sticky and shaggy—this is normal! Don’t be tempted to add more flour.
- Cover the bowl tightly with plastic wrap and let it sit at room temperature (around 70°F/21°C) for 12-18 hours. This long, slow fermentation develops the flavor and texture.
Pro Tip: The ideal water temperature is around 95°F (35°C). Too hot can kill the yeast, while too cold will slow down fermentation. An instant-read thermometer takes the guesswork out of this step.
Step 2: Shape the Dough (Next Morning)
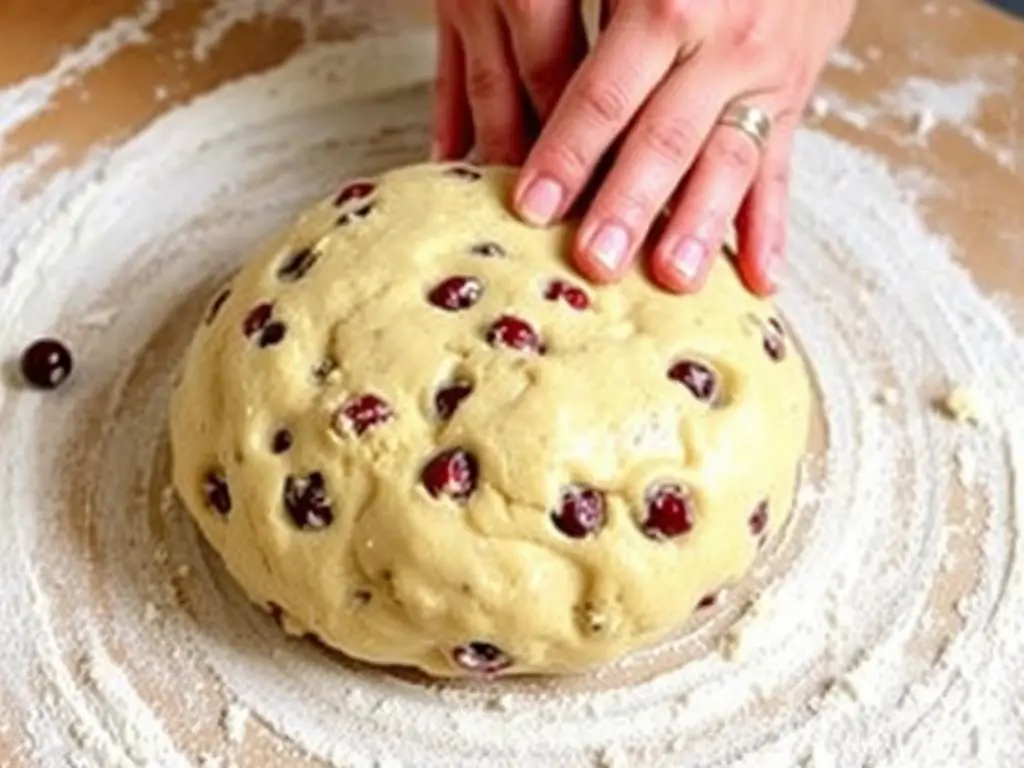
- After 12-18 hours, the dough should have doubled in size and have bubbles on the surface.
- Place a large piece of parchment paper on your counter and dust it generously with flour.
- With floured hands, gently scrape the dough from the bowl onto the parchment paper.
- Carefully shape the dough into a round loaf, using just enough flour to prevent sticking. Don’t knead or handle the dough too much—you want to preserve those air bubbles.
- Dust the top with a little flour, then cover loosely with plastic wrap.
- Let the shaped dough rest for 30 minutes while you preheat the oven.
Step 3: Preheat and Prepare for Baking
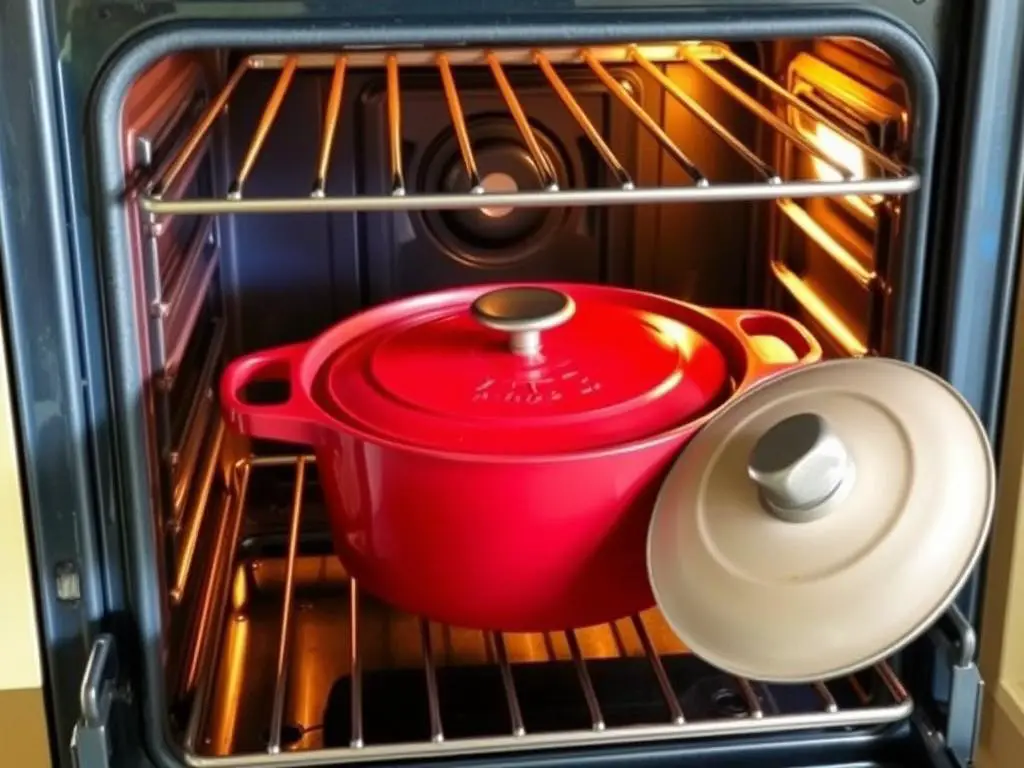
- Place your Dutch oven (with the lid on) in the cold oven.
- Preheat to 450°F (230°C). The Dutch oven needs to be very hot before the bread goes in.
- After the dough has rested for 30 minutes and the oven is fully preheated, use a sharp knife or bread lame to score an “X” on top of the dough.
Safety Warning: The Dutch oven will be extremely hot! Always use thick oven mitts when handling it to avoid burns.
Step 4: Bake to Perfection
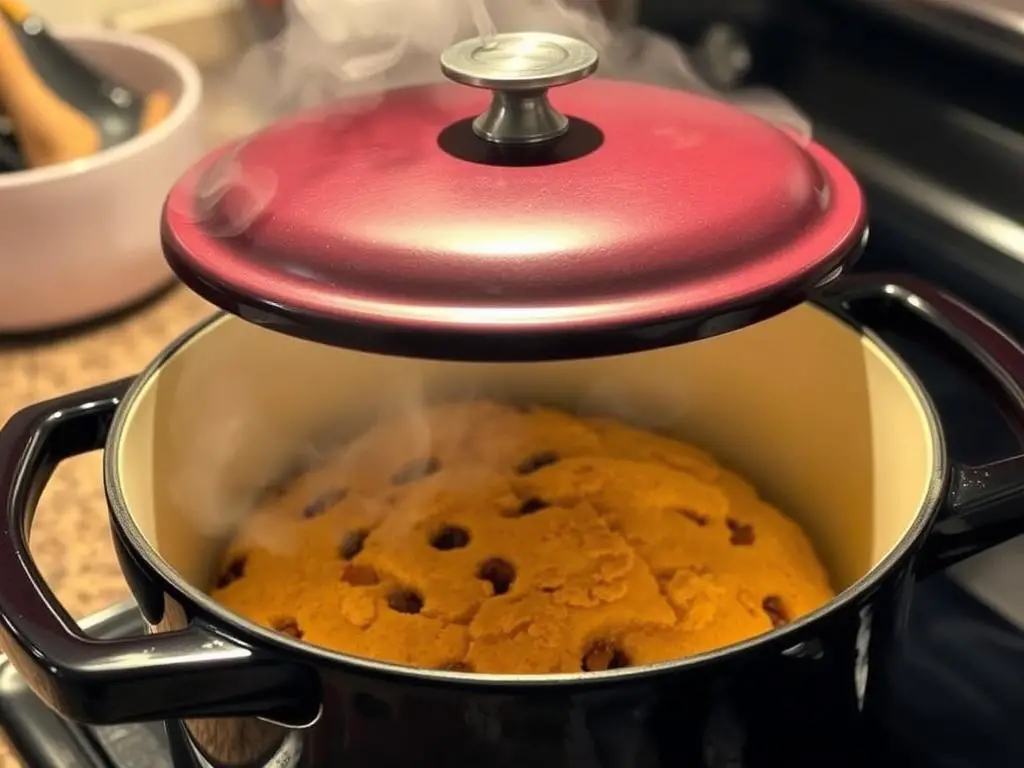
- Carefully remove the hot Dutch oven from the oven and take off the lid.
- Using the parchment paper as a sling, gently lower the dough (with the parchment) into the hot Dutch oven.
- Cover with the lid and return to the oven.
- Bake for 30 minutes with the lid on. This creates steam that helps form that signature crispy crust.
- Remove the lid and bake for an additional 10-15 minutes until the bread is deep golden brown, just like Costco’s version.
- The bread is done when it sounds hollow when tapped on the bottom, or when an instant-read thermometer inserted in the center reads 195°F (90°C).
Step 5: Cool and Enjoy
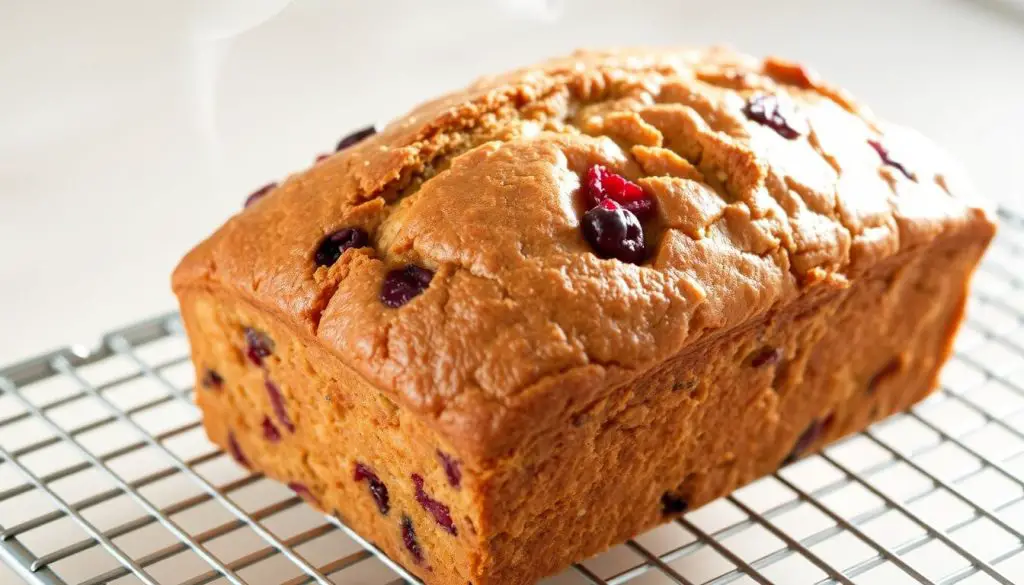
- Using the parchment paper, carefully lift the bread out of the Dutch oven and place it on a cooling rack.
- Allow the bread to cool for at least 1 hour before slicing. This is crucial—cutting too soon will result in a gummy texture.
- Once cooled, slice and enjoy your homemade Costco-style cranberry walnut bread!
Pro Tips for Perfect Costco Cranberry Walnut Bread

Adjusting Sweetness
The original Costco bread has a subtle sweetness. If you prefer a sweeter loaf:
- Increase honey to 2-3 tablespoons
- Add 1 tablespoon of brown sugar to the dough
- Use sweetened dried cranberries instead of unsweetened
- Brush the hot bread with honey right after baking for a sweeter crust
Ingredient Substitutions
Don’t have all the exact ingredients? Try these alternatives:
- Replace dried cranberries with dried cherries, raisins, or chopped dried apricots
- Substitute walnuts with pecans, hazelnuts, or almonds
- Use maple syrup instead of honey for a different flavor profile
- Try bread flour instead of all-purpose for a chewier texture
No Dutch Oven? No Problem!
If you don’t have a Dutch oven, you can still make this bread:
- Place the shaped dough on a parchment-lined baking sheet
- Preheat your oven to 450°F (230°C)
- Place an empty metal baking pan on the bottom rack
- When you put the bread in to bake, pour 1 cup of hot water into the empty pan to create steam
- Bake for about 35-40 minutes until golden brown
“The secret to getting that Costco-quality crust is steam during the first part of baking. The Dutch oven traps moisture from the bread to create steam, but you can replicate this with a water pan in a regular oven.”
Storage and Freezing Tips
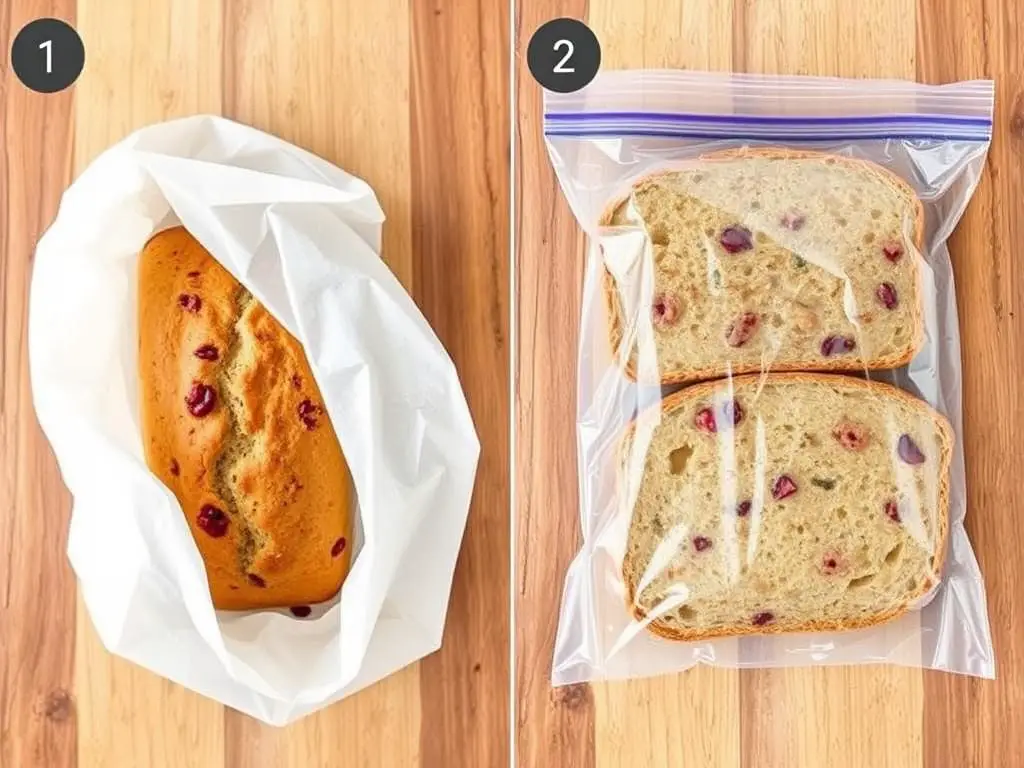
- Room Temperature: Store in a paper bag or bread box for 2-3 days. The crust will soften slightly but the bread will remain delicious.
- Refrigerator: Not recommended as it speeds up staling, but if necessary, wrap tightly in plastic wrap for up to 5 days.
- Freezer: Slice the cooled bread, wrap tightly in plastic wrap, then aluminum foil, and freeze for up to 3 months. Thaw slices at room temperature or toast from frozen.
- Refreshing: To restore the crust, sprinkle the bread lightly with water and heat in a 350°F (175°C) oven for 5-10 minutes.
Delicious Ways to Serve Your Homemade Cranberry Walnut Bread
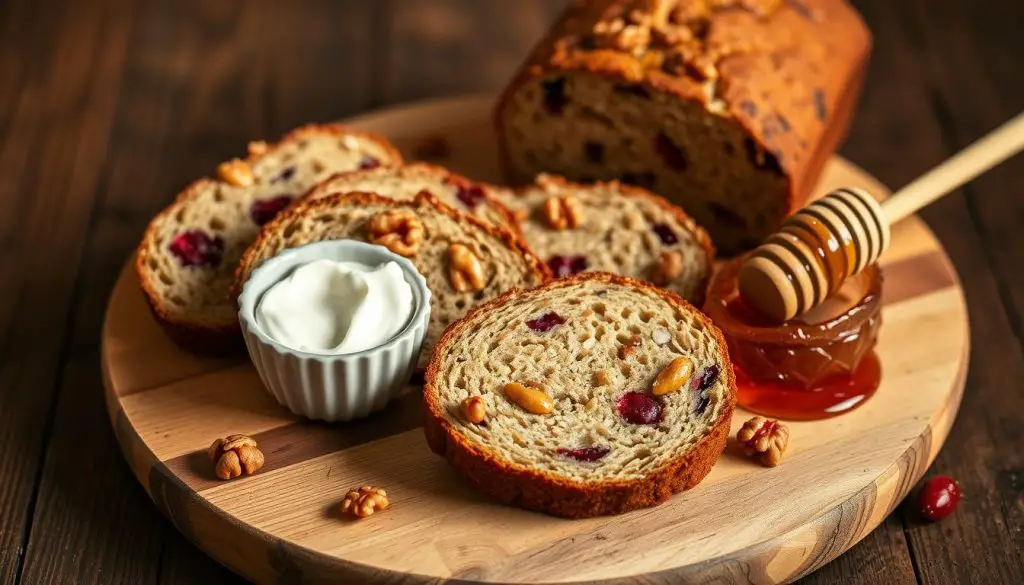
Your homemade Costco-style cranberry walnut bread is versatile and pairs beautifully with many accompaniments:
Breakfast Ideas
- Toasted with butter and a drizzle of honey
- Spread with cream cheese or ricotta
- Used for extraordinary French toast
- Served alongside scrambled eggs
Lunch Pairings
- Turkey and brie sandwich with cranberry sauce
- Grilled cheese with sharp cheddar
- Alongside a bowl of butternut squash soup
- With chicken salad for a delightful contrast
Appetizer Presentations
- Toasted crostini with goat cheese and honey
- Part of a cheese board with soft cheeses
- Served with wine and fruit for entertaining
- Alongside a spinach dip
Homemade vs. Store-Bought: How Does It Compare?
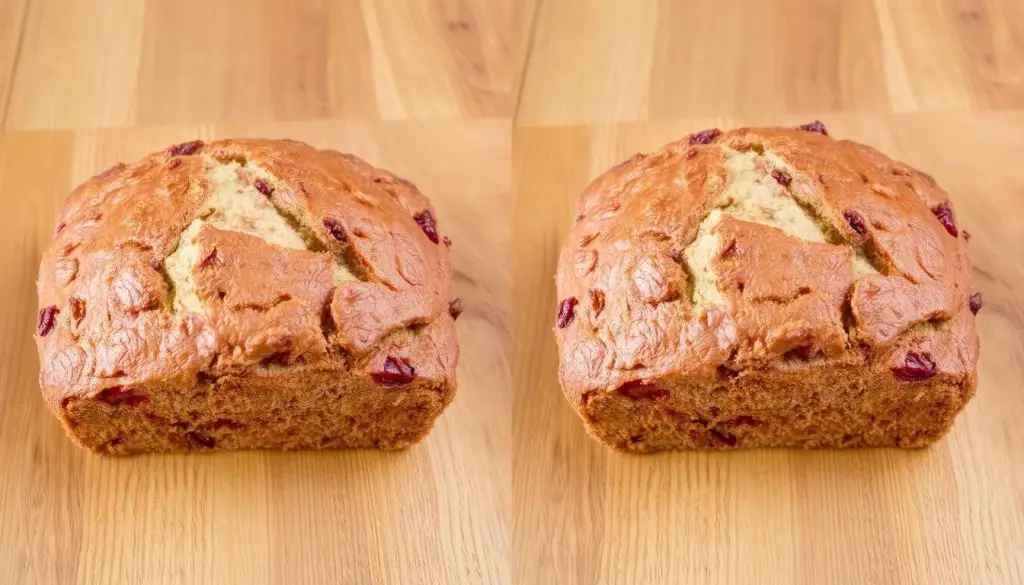
Advantages of Homemade
- Fresher taste with no preservatives
- Customize ingredients to your preference
- Significant cost savings (about 70% cheaper per loaf)
- The satisfaction of baking it yourself
- Control over ingredient quality
- Incredible aroma fills your home
Advantages of Costco’s Version
- Convenience—no preparation time
- Consistent results every time
- Available year-round
- No cleanup required
- No special equipment needed
While Costco’s cranberry walnut bread is undeniably delicious and convenient, our homemade version delivers that same wonderful flavor with the added benefits of freshness, customization, and pride in creating something special from scratch. Plus, the cost savings are substantial—you can make about three loaves at home for the price of one from Costco!
Frequently Asked Questions About Costco Cranberry Walnut Bread
Can I use active dry yeast instead of instant yeast?
Yes! You can substitute active dry yeast for instant yeast in the same amount. The only difference is that you should dissolve active dry yeast in the warm water for 5-10 minutes until foamy before adding it to the dry ingredients.
Can I use fresh or frozen cranberries instead of dried?
Fresh or frozen cranberries will add more moisture to the dough and create a more tart flavor. If using fresh, chop them coarsely and reduce the amount to 1/2 cup. For frozen, use them straight from the freezer without thawing, also reducing to 1/2 cup.
Why is my bread dense instead of airy like Costco’s?
The most common reasons for dense bread are: 1) Over-handling the dough when shaping it, which deflates air bubbles, 2) Not allowing enough fermentation time, or 3) Your kitchen being too cold during the rise. Make sure to handle the dough gently and give it enough time to rise in a warm spot.
Can I make this bread without a Dutch oven?
Yes! See our “No Dutch Oven” alternative method in the Pro Tips section. The key is creating steam in your oven during the first part of baking to develop that crispy crust.
How can I make this bread if I don’t have 12-18 hours for the first rise?
For a quicker version, increase the yeast to 2 teaspoons and let the dough rise in a warm place for 2-3 hours instead. The flavor won’t be quite as developed, but you’ll still get a delicious loaf in much less time.
Conclusion: Enjoy Your Homemade Costco Cranberry Walnut Bread

Making your own Costco-style cranberry walnut bread at home is not only satisfying but also surprisingly simple with this no-knead method. The long fermentation does most of the work for you, resulting in a bakery-quality loaf with that perfect balance of chewy interior and crispy crust. Plus, the aroma of freshly baked bread filling your home is an experience that can’t be replicated with store-bought bread.
Whether you’re enjoying a slice for breakfast with butter and honey, using it for sandwiches, or serving it alongside your favorite soup, this homemade cranberry walnut bread is sure to become a staple in your baking repertoire. And remember, while Costco’s version is undeniably delicious, there’s something special about creating it with your own hands—customized to your taste preferences and filled with the pride of homemade goodness.
Happy baking!


