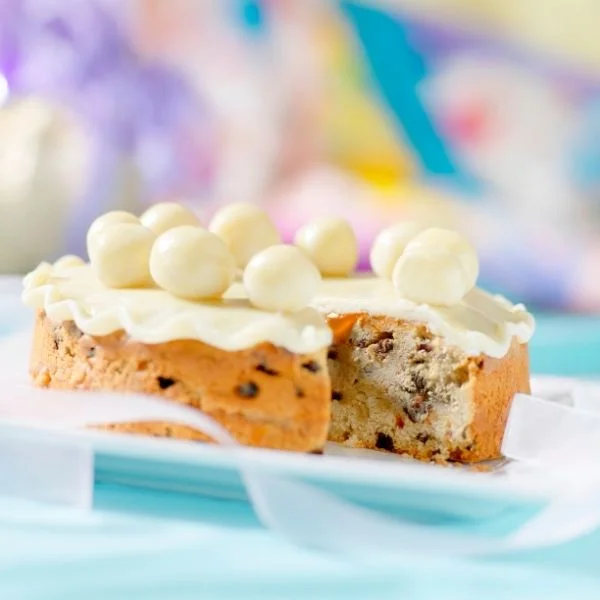
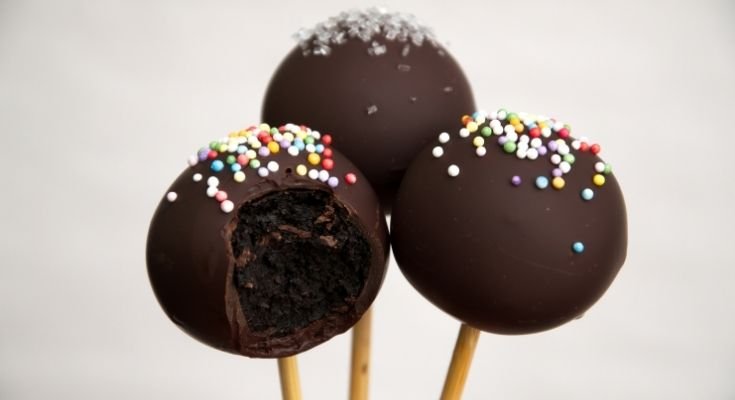
Cake pops are delightful treats that combine the deliciousness of cake with the convenience of a lollipop. These bite-sized desserts are not only tasty but also visually appealing when decorated with colorful coatings and toppings.
If you find yourself with an excess of cake pops or want to prepare them in advance for a special occasion, you might be wondering if you can freeze decorated cake pops.
Can You Freeze Decorated Cake Pops?
Freezing decorated cake pops is indeed possible, but it requires careful consideration of certain factors to ensure that the taste, texture, and appearance of the cake pops remain intact after thawing. Let’s delve into the details.
The Freezing Process
To freeze decorated cake pops, you need to follow a step-by-step process:
- Allow the cake pops to cool completely before freezing.
- Place the cake pops on a baking sheet lined with parchment paper, ensuring they are not touching each other.
- Place the baking sheet in the freezer and let the cake pops freeze for about an hour or until they are firm.
- Once the cake pops are frozen, transfer them to an airtight container or freezer bag. It’s essential to remove as much air as possible to prevent freezer burn.
- Seal the container or bag tightly and label it with the date of freezing.
Factors to Consider
While freezing cake pops is feasible, it’s important to consider a few factors:
- Decoration: The type of decoration on the cake pops can impact their suitability for freezing. Certain toppings, such as fresh fruit or delicate edible decorations, may not freeze well and could lose their texture or appearance. It’s best to choose decorations that are freezer-friendly.
- Coating: The type of coating on the cake pops also plays a role in their freezer resilience. Chocolate coatings tend to freeze well, while other coatings like cream cheese or buttercream may become soggy or lose their consistency after thawing.
- Storage duration: The longer you intend to store the decorated cake pops, the more crucial it becomes to follow proper freezing and storage techniques. For shorter storage durations, the risk of texture or taste degradation is relatively low.
Tips for Freezing Decorated Cake Pops
To ensure the best results when freezing decorated cake pops, consider the following tips:
Preparation
- Allow the cake pops to cool completely before freezing. This prevents condensation from forming, which could lead to sogginess.
- Choose freezer-friendly decorations such as sprinkles, edible glitter, or hardened chocolate coatings.
- If using delicate decorations, such as fresh fruit, consider adding them after thawing to maintain their freshness and appearance.
Packaging
- Place the decorated cake pops in a single layer on a baking sheet lined with parchment paper. Ensure they are not touching each other.
- For added protection, you can wrap each cake pop individually with plastic wrap or place them in individual cupcake liners.
- Transfer the wrapped cake pops to an airtight container or freezer bag. Remove as much air as possible before sealing.
- If using a freezer bag, you can place a layer of parchment paper between the cake pops to prevent them from sticking together.
- Label the container or bag with the date of freezing.
Storage
- Store the packaged cake pops in the freezer, preferably in the coldest part of the freezer.
- It’s essential to maintain a constant freezing temperature of 0°F (-18°C) or below to preserve the quality of the cake pops.
- Avoid placing heavy objects on top of the cake pops to prevent any damage to their decorations.
- If you have multiple batches of cake pops, you can separate them with dividers or use different containers to prevent them from getting mixed up.
Thawing and Serving Decorated Cake Pops
When you’re ready to enjoy the frozen decorated cake pops, follow these steps for thawing and serving:
- Remove the desired number of cake pops from the freezer and place them in the refrigerator.
- Let the cake pops thaw slowly in the refrigerator for several hours or overnight. This gradual thawing helps maintain their texture and prevents condensation.
- Once thawed, you can serve the cake pops as they are, or if desired, you can add additional decorations like drizzles or sprinkles.
- If you prefer them at room temperature, allow the cake pops to sit at room temperature for a short time before serving.
FAQs
Yes, you can freeze cake pops with cream cheese frosting. However, keep in mind that the frosting may become softer after thawing, so handle them gently.
Decorated cake pops can be frozen for up to 2-3 months. Beyond that, the quality may start to deteriorate.
Fondant decorations can be frozen, but they may lose their firmness and could become sticky after thawing. It’s recommended to add fondant decorations after thawing for best results.
It is generally better to freeze cake pops after decorating. Freezing before decorating could result in a loss of freshness and texture.
Yes, cake pops with chocolate coating freeze well and maintain their texture and taste after thawing.
Conclusion
In conclusion, freezing decorated cake pops is a viable option if done correctly. By following the proper freezing, packaging, and storage techniques, you can preserve the taste, texture, and appearance of these delightful treats. Consider the factors mentioned, such as the type of decoration and coating, to ensure the best results.